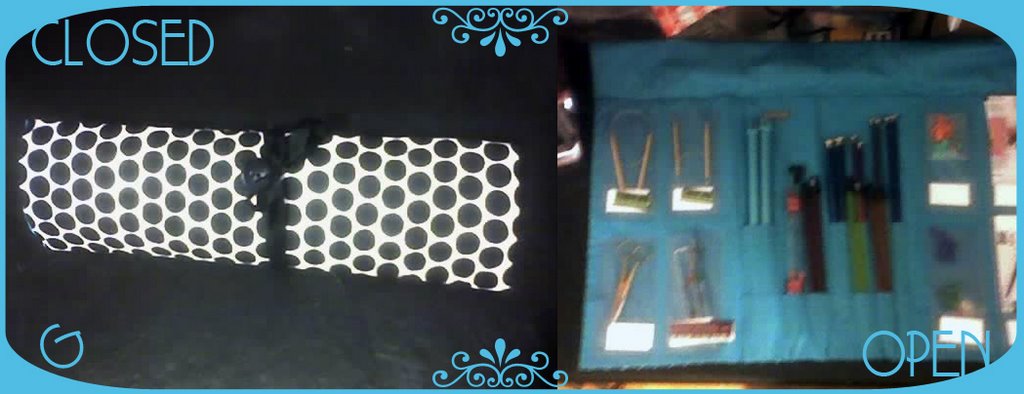
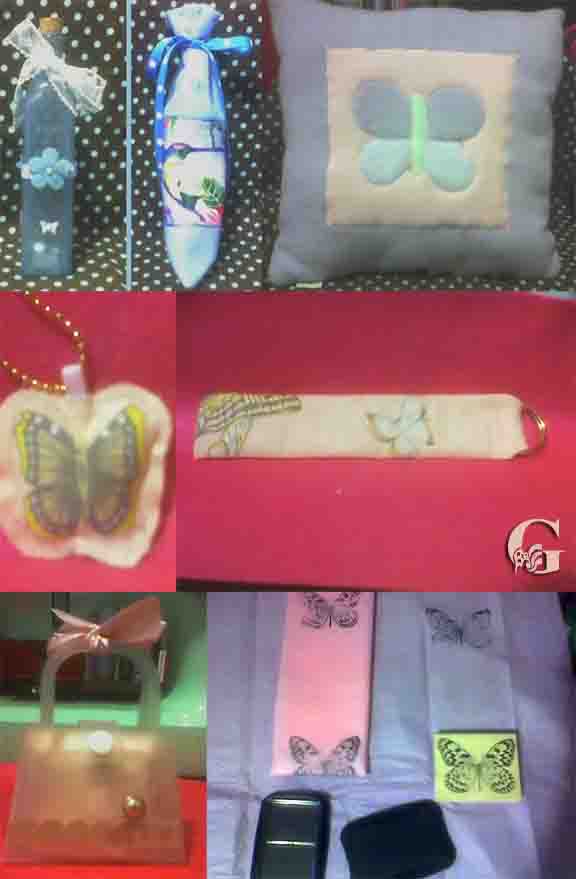
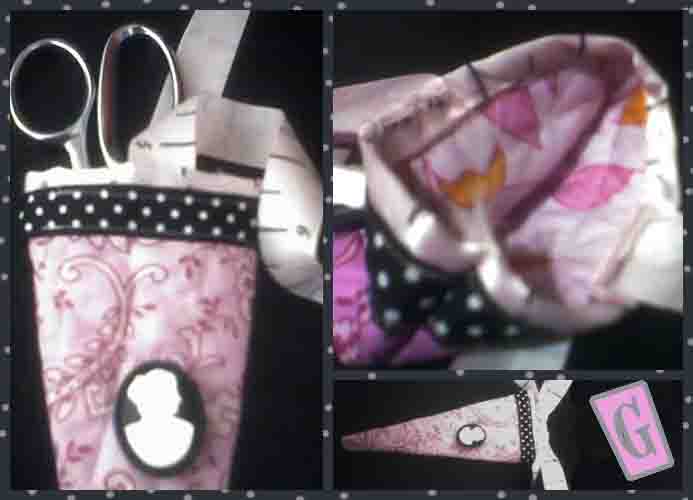
Wednesday, May 31, 2006

Zippered mini bag


Here's the zipper nico! And thank you for all your zipper tips. This was an experiment with a big plastic zipper. The material is a nice strong but light canvas. The bag is in the other room but I think it's about 5 or 6 inches wide and 8 inches long. It was a lot easier than I thought it would be so I was pleasantly surprised. My only concern was the inseam on the inside that was closest to the closed zipper head, it was in the way a little bit so I turned it back inside out and trimmed it closer. Not sure if there is a better resolution for this? The zipper bag was great for sewing the inside since you can turn inside out back and forth so easily! There is a real sense of freedom in that considering that some of the other bags lock you out when you sew the tops together. I've been working on an animation over the last few days (gave myself a migraine yesterday - yikes), I will be submitting it to Converse for a competition. I'll put it up on my animation blog when it's ready, I'll let you know. My head is better today! Hope you all had a lovely memorial weekend.

Friday, May 26, 2006

Favorite Fridays


Wasn't it just Friday? Here we have a knitting organizer by who else? The organized knitter, a woman who makes them herself and has a multitude of fabric and organizer styles to suit your needs. Mine is the combination case and is one of my favorite things, thank you scribbles for our Friday fun!

Pink Lady


This little lady is made from soft pink paisley and inner matching stripes. I cut her image out of a separate print cotton material and attached her using a decorative stitch. The inside top of the pocket also utilizes a decorative stitch albeit a different one then on the lady. The button is a semi see through rose. This was my first attempt at using the button and button hole feet on the sewing machine. I made a tester and the button hole came out fine. I switched feet for the actual button, I set the size for the holes in the button, but it seemed to move around a bit and I broke a needle as it hit the button! Next time I watched and moved very slowly, adjusting the position of the needle as I needed to, which was pretty much every stitch!. This worked so I was then ready to finish up. The only grey area for me was that in the manual it said pull the top thread down to tie in a knot with the bottom bobbin thread, but I could find a way for this to be possible with the fabric in between and there for in the way? So I tied off the best I could. Then I went on to do it for real on my pink lady. Now of course this button isn't flat enough to use in the button foot to size it, so I used a button of comparable size. This button also doesn't have holes in the center and due to it's bulkiness I also couldn't use the machine to attach it (wouldn't fit under the foot), so instead I stitched it on by hand. Have a great weekend everyone!

Tuesday, May 23, 2006

Self Portrait May 23 Introduction


This is my very first self portrait challenge. I am artist, I am historian, I am futurist. I am ever growing, ever learning, ever expanding, ever evolving. I am creator of many things, and lover of new things created. I am wife. I write my own story.

Sunday, May 21, 2006

More bottle caps!

I made some more this evening! Sorry about the picture quality, I wish you could see the microbead detail. Each one has corresponding beads.

Bottle cap necklace


You can't really see them in this photograph but around the edges of the Gibson girl image there are microbeads in matching color and a super light dusting of glitter. I cut the image from sheets that I had previously made for jewelry that I've made in the past. I had most of the other parts on hand, the jump rings, glue, bottle caps and chain but I had to run out to the hardware store to buy a part to fit the tiny drill bit I needed to drill a hole small enough. The bottle cap is a retro Nehi Red Soda pop top and I'm wearing it now!

Little critter


You've seen this little critters twin before but this time I made him just for practice. This little fella is made out of fleece for the body and felt for the ears and eyes. The mouth, nose and pupils were embroidered. Left most, front. Center, back. Right most close up! Hope you're having a great week end!

Friday, May 19, 2006

Favorite Friday - Kitty


Scribbles & Bits has invented a new post motivation, Favorite Fridays for the purpose of posting our, you guessed it, favorite things! Here is my first go at it, my kitty cat clock originally made in the 1930's this classic kitty wags his tail and rolls his eyes back and forth to keep the time! He's one of my favorite things. Thanks Scribbles & Bits!

Green and Pink


Here is another bag I made and this time I made the inner lining and outer lining separately and sewed them together on top. I did it differently with the Cherry bag and afterwards thought about it and realized this is a better way and indeed it worked out much better. It is much neater and cleaner in it's construction. I had two colors of the same fabric, one green and one pink. I made the base of the bag in pink fabric and then cut out the image of the girl silhouette from the green fabric and stitched it onto a piece of green felt then sewing that onto the front of the bag. The inside pocket is made from the same felt but with a different green floral fabric on top. The felt for this pocket was one piece rolled up in half so that when I sewed it to onto the inner lining it made it like a layered pocket, or two pockets! The inner lining is large gingham print and the outside trim of the bag is small green gingham with three hand sewn pink plastic buttons finished with a green/pink/white stripe strap.

Thursday, May 18, 2006

Sweatshirt modification


I didn't make this sweatshirt I bought it at Target for a minor amount of cash. It was all plain black with nothing on it. I then took two different sets of fabrics, one a large cartoon print and the other a smaller strip style and cut out parts. The large face on back and the arm panel came from the same piece while the smaller piece on the front came from the smaller style fabric. I washed and dried the fabrics first. For the large face on the back I stitched her on first and then I framed her by sewing on four strips of polka dot ribbon, stitching the inside and the outside of the ribbon. For the arm and the front I ironed the sides of the fabric down and then sewed them on. That's it! Now it's not so plain! I'm going to wear it to my sewing class!

Wednesday, May 17, 2006

Cherry Bag


I made this cherry bag out of cotton Aranzi (the white character/cherry fabric at the bottom) and pink/red cotton cherry fabric layered over the top (sort of an exaggerate overhang) with a applique patch and fleece white & cherry inner lining. For the strap I was inspired by nico. I have a bag I bought from her etsy shop where I think she had sewn ribbon onto the strap. I used my favorite cherry ribbon (you can see this same ribbon on one of my moms cards from the set I made her) in the same way atop a light pink nylon mesh strap. The button was hand sewn on only the one side of the bag. Hope you like it!

P.S. For you Aranzi fans out there and those of you may remember that I was inquiring about their use of license. I finally did receive an email back from them and they said that none of their patterns or even fabrics are allowed to be used for resale, only personal use! So it's just for fun.

Monday, May 15, 2006

Hand Made Mothers Day Gifts


Here are the photos of the gifts I made my mom for Mothers Day. Click these pictures to see larger versions. I started working on these a couple weeks before Mothers day and used my moms favorite things as guidelines. Which are, blue, pink and peach colors, butterflies and hummingbirds.

The first photo is of the card that I made my mom. It features fabric and paper cut outs, ribbon, embossing and inner pocket for the bookmark I made her which was inserted along with my letter.

The second photo is a collage of the gifts I made her. Starting with a blue glass bottle that I decorated with ribbon, butterfly paper and pearl. I also made a bag to fit the bottle, out of blue felt and cut out a hummingbird from fabric and stitched it onto the front, also a clear blue butterfly button and matching ribbon to tie.
I made a lavender pillow out of fleece, cut out a separate square of pink fleece and mini parts out of blue, green and purple to sew together and form a butterfly on the front. It's very soft!
The next row is a matching necklace and bracelet made out of peach colored fabric with butterflies of course.
The last row shows a clear bag that I decorated with my homemade vellum flower and trim, a cut brad and tie ribbon to hold the butterfly set.
I wrapped the gifts with tissue paper that I rubber stamped with butterflies!

The last photo is of a handmade greeting card set that I made for my mom. In the first row you can see the front and the back of the felt bag I made for all of the cards to fit inside of. The front I cut out of fabric and stitched on much like the bottle bag. The rest of the images show the cards that I made her!

I also made her a tea towel but I can't seem to find the photo! It was a plain white flour sack towel that I stitched blue ric rak around and cut fabric that was from the same piece I cut the greeting card bag image from. But this one looked very much like a mother and a daughter, so it was fitting.
It was so fun to do and even better to hear how she enjoyed them!

Sunday, May 14, 2006

Still sick and still sewing!


I made this kitchen hand towel out of soft flannel gingham, cut cotton fabric parts and pink ric rack. Happy mothers day everyone. Time to call my Mom!

Saturday, May 13, 2006

Cutting cozy


Still sicker than a dog yesterday and today. Yesterday I had a hard time resigning to the couch and focusing on how bad I felt so I went to the sewing machine instead. My husband was so intrigued that I could make things while I wasn't feeling well. I told him that if my body wasn't going to work with me I'd rather focus on something else using my mind. It's a nice distraction and I could still remain seated while sewing but be productive. If it became to much I would come out for a break.
When I was at my sewing class my scissors were in my supply box but they were so heavy that they slid around and knocked things about so I made a scissor cover to alleviate the problem. I used double sided quilted fabric, two rows of ribbon on the edge, and to tie and a large cameo button.

Thursday, May 11, 2006

Scrunchie


We've been battling illness here, passing it back and forth, this is my second round and I've had it pretty bad over the last few days but I did make it to the first day of my sewing class tonight. Yes I can sew but I really would like to develop my skills and take them to the next level. Let's hear it for learning new things and making even more creative jazz! It's a bring your own sewing machine class and tonight we made our own hair scrunchie! The above photo is mine. I really like the teacher she is very generous in elaborating on tips and tricks that are useful while demonstrating her main point. I'm looking forward to the next class.

Sunday, May 07, 2006

Thrift store score


A few weeks ago when the weather was nice I went to Good Will and they had a tray full of vintage patterns, these were my favorites. In the photo you can also see a set of daisy flower push pins that I found, still in the original package.